Temperature calibration in GxP

Jakob Konradsen
Temperature calibration is an important process within temperature compliance in GxP-regulated sectors like pharma, biotech, and healthcare logistics. In this guide, we will go through everything you need to know about the art of calibration – from standards to procedures, methods, and pitfalls.

On this page, we go through:
- What is temperature calibration?
- The 7 key terms of temperature calibration
- The most common temperature calibration techniques
- Where and when is calibration performed?
- Who handles calibration? And can you do it yourself?
- Accredited vs. traceable calibration - what regulators expect
- Choosing the right calibration type for you
- Common calibration challenges and their solutions

What is temperature calibration?
First things first: Temperature calibration is about comparing the readings from a temperature measuring device – often a sensor in a data logger – to a known standard and adjusting the sensor to align with that standard.
This process ensures that temperature measurements are accurate and reliable.

Why is temperature calibration needed?
Calibration of temperature and humidity measurement devices is necessary to ensure the accuracy of the data logger sensors used for monitoring. In other words, temperature calibration is about ensuring that measurements are performed correctly so you can rely on the data. With a well-executed data logger calibration, it is ensured that your data loggers measure the same values as all other devices.
In highly-regulated industries, this process is crucial for:
- Product quality: Maintaining the correct temperature prevents the degradation of pharmaceuticals and other temperature-sensitive products.
- Compliance: Adhering to standards and regulations set by bodies like the FDA and EMA.
- Operational efficiency and reputation: Avoiding costly recalls and maintaining trust with customers and other stakeholders.
Calibrations can be required by regulations or customers and is a key part of maintaining a high quality, whether working with medicine, medical samples or food.

How is temperature calibration performed?
Calibration is performed by comparing a value, e.g. temperatures, read by a data logger with a reference. By reading the difference between what the data logger measures and what the reference measures, you can calculate whether the data logger has measured correctly and how close to the true value the data logger has measured.

7 key terms of temperature calibration
1. What is the reference temperature and sensor?
The reference temperature is the temperature measured by a reference sensor, which is more precise than the sensor under calibration. The reference temperature is used as a benchmark during the calibration. It ensures the accuracy and traceability of measurements by providing a fixed point of comparison.

2. What is calibration uncertainty?
During calibration, the measured temperature of the data logger is calibrated against a reference, but the comparison that is made will always have a certain degree of uncertainty. The measurement uncertainty describes how precise the two measured temperatures are when compared, thus giving a picture of how close to the “true value” a calibration can be expected to be.
This uncertainty, refering to the inherent error that cannot be eliminated when comparing the output from a data logger sensor to a reference temperature, is a recognized part of the calibration process and a fixed part of a given [calibration method](/temperature-calibration/whatkindoftemperaturecalibrationshouldichoose/.
The measurement uncertainty should always be shown in the calibration certificate.

3. What is Maximum Permissible Errors (MPE)?
Governmental and industry standards typically set forth Maximum Permissible Errors (MPE), which defines the extent of deviation, including calibration uncertainty, that can be tolerated for a sensor’s operation.

4. What is acceptable deviation in temperature calibration?
Acceptable deviation refers to the maximum allowable error limit during the calibration process that a temperature sensor can exhibit while still being considered accurate within its operational specifications. This term is crucial as it helps define the practical boundaries of sensor performance after calibration. Acceptable deviations are often noted on calibration certificates, indicating that the measured values are within the tolerable limits of error promised by the calibration provider. The acceptance level on a calibration certificate indicates whether any deviations from the true value are within a defined limit and if you can rely on the uncertainty that the supplier has promised.

5. What does accuracy mean within temperature calibration?
Accuracy refers to the closeness of a temperature measurement to the true value – the actual, precise temperature being measured. It indicates how correct the measurement is. While uncertainty quantifies the range within which the measurement is expected to lie, accuracy indicates how close the measurement is to this true value.

6. What is traceability in temperature calibration?
Traceability is a vital concept of calibration. Traceability in temperature calibration refers to the ability to link measurement results back to national or international standards through an unbroken chain of comparisons. This ensures that measurements are accurate and consistent across different contexts and locations. In other words, it guarantees that the data loggers provide the same result as any other traceable data logger. For instance, it means that 0 degrees should be the same in any country. Each step in the chain is documented, which allows the calibration to be verified and validated, providing confidence in the accuracy and reliability of the temperature data logger's readings.

7. What are temperature calibration standards?
Temperature calibration standards are benchmark temperatures that provide fixed reference points to ensure the accuracy and traceability of measurements.
Examples of temperature calibration standards are:
- Triple point of water (0.01°C): A primary calibration standard known for its precise and reproducible temperature point.
- Melting point of gallium (29.7646°C): Used in laboratories for calibrating thermometers and other temperature measurement devices.
- Boiling point of water (100°C at 1 atm): A widely recognized standard for basic calibration.
- Fixed points in the International Temperature Scale of 1990 (ITS-90): Includes freezing points of metals like tin (231.928°C), zinc (419.527°C), and aluminum (660.323°C) for high-precision calibration.
- NIST traceable standards: These standards are provided by the National Institute of Standards and Technology to ensure traceability and accuracy in measurements.
- Ice point (0°C): A basic calibration point for verifying the accuracy of temperature sensors at the freezing point.

8. What is a calibration certificate?
A calibration certificate is an official document issued by a calibration laboratory that verifies a temperature and humidity sensor has been calibrated according to specific standards. It details the calibration procedure, the measurement results, etc. The certificate serves as proof that the device has been accurately calibrated and meets the required specifications. It also indicates whether a performed calibration was accredited (such as ISO 17025 accreditation).

Calibration vs. verification vs. adjustment: What is the difference?
In regulated environments, the words calibration, verification, and adjustment are often confused, but they mean different things:
Calibration is the act of comparing instrument readings against a reference standard to determine error and uncertainty. It does not change the instrument but documents its performance relative to a known reference.
Verification goes one step further. It checks whether the instrument’s error falls within an acceptance criterion such as the maximum permissible error (MPE). Verification is what auditors and SOPs typically require to confirm compliance.
Adjustment means physically changing the instrument to reduce error (for example, modifying sensor output or updating firmware). Once adjustment is made, the device must always undergo a new calibration to prove the new performance level.
For audits, make sure your SOPs clearly separate these concepts. Mixing them up is a common inspection finding.
Temperature calibration techniques
Fixed point, dry block, liquid bath, and comparison
Temperature calibration techniques are the methods used to compare a temperature measurement device to align with the known standards, ensuring its accuracy.
Here are the four key techniques used to calibrate temperature measurement equipment:

Fixed point method
Using substances with well-known phase change temperatures (e.g., ice at 0°C) as references.
- Advantage: ighly accurate and globally recognized as the gold standard for calibration.
- Disadvantage: More time-consuming and requires specific conditions, making it less practical for routine field work.
Liquid bath calibrators
Using a stirred liquid medium (e.g., water, silicone oil) to create a highly stable, uniform temperature environment in which the device under test and a reference sensor are immersed together.
- Advantage: Excellent stability and uniformity with low uncertainties; accommodates many probe types and sizes simultaneously.
- Disadvantage: Fluid selection and upkeep matter (viscosity, flash point, contamination); more maintenance and safety handling than dry blocks.
Comparison method
Comparing the device under test to a higher-accuracy reference thermometer in the same controlled source (bath or dry block) across one or more points.
- Advantage: Flexible across a very wide temperature range and can calibrate multiple sensors at once.
- Disadvantage: Overall accuracy depends on source stability and the reference; sensitive to gradients, immersion depth, and loading, so uncertainty can be higher than fixed-point work.
Dry block calibrators
Dry blocks provide a stable temperature source to immerse the sensor, ensuring precise calibration in a portable format.
- Advantage: Provides a controlled environment and is relatively quick to use.
- Disadvantage: Can be expensive and require maintenance; uniformity is often lower than for liquid baths.
Temperature calibration approaches: Off-site vs. in-situ vs. on-the-wall
Calibration techniques describe how temperature is generated and measured (fixed point, liquid bath, dry block, comparison). Calibration approaches describe where and when calibration takes place, and how this affects downtime, compliance, and documentation.

Off-site (laboratory) calibration
Devices are shipped to an accredited laboratory and calibrated against reference standards that are traceable to national or international units such as ITS-90 and NIST.
- Advantage: Provides high accuracy, independent oversight, and strong compliance credibility for audits.
- Disadvantage: Involves downtime, requires spare loggers, and creates added logistics and paperwork.
In-situ calibration
Calibration is performed at the point of use with portable reference standards that are traceable to recognized metrology institutes. Devices remain installed but must be paused during calibration.
- Advantage: Reflects real operating conditions and avoids shipping delays, supporting GMP and GDP requirements.
- Disadvantage: Requires downtime, technician visits, and manual handling of certificates, which can introduce compliance risks if records are incomplete.
On-the-wall calibration
A digital evolution of in-situ calibration. Sensors are calibrated while installed (literally “on the wall”) using replaceable sensor tips and reference alignment. Accredited or traceable certificates are generated automatically, meeting ISO/IEC 17025 and GxP documentation needs.
- Advantage: No downtime, no spare loggers, instant digital certificates, and centralized compliance control across sites.
- Disadvantage: Requires compatible hardware and a validated digital workflow in line with 21 CFR Part 11 and EU Annex 11 requirements.
Learn more in our guide to on-the-wall calibration.
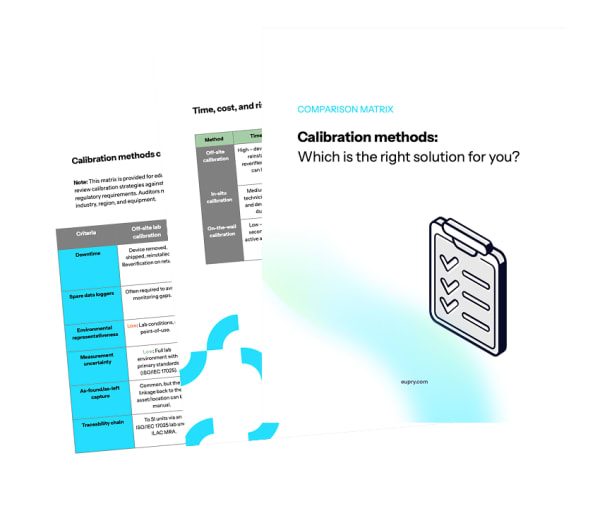
Download your calibration comparison tool
Risks, costs, operational impact: Get a simple overview and quickly compare off-site, in-situ, and on-the-wall calibration methods side by side in this comparison matrix.
The temperature calibration procedure
What does the procedure include?
A temperature calibration procedure is a systematic process used to carry out the calibration. Unlike calibration standards, which are the fixed reference points, and calibration methods, which are the techniques used, a calibration procedure outlines the specific steps and protocol followed to ensure the device is accurately calibrated.
This will often look something like this:
1. Preparation and setup:
- Ensure the calibration environment is stable and free from temperature fluctuations.
- Gather all necessary equipment, including the sensor and calibration reference.
2. Initial check:
- Compare the sensor readings against the calibration standard without making adjustments.
- Document any deviations.
3. Adjustment:
- Adjust the data logger settings to match the calibration standard.
- Repeat the measurements to confirm accuracy.
4. Verification:
- Verify that the data logger maintains accuracy across the specified range.
- Perform additional tests if necessary to ensure consistency.
5. Documentation:
- Record the calibration process, results, and any adjustments made.
- Provide calibration certificates as proof of compliance.
6. Post-calibration review:
- Review the calibration certificate to ensure it meets all internal and regulatory requirements.
- Store the certificate and related documentation for future reference and audits.

Calibration best practices
Frequency
Perform regular calibration intervals based on usage and manufacturer recommendations.
Environment
Conduct calibration in controlled environments to avoid external influences.
Equipment
Use high-precision calibration tools and maintain them according to manufacturer guidelines.
How often should you calibrate temperature loggers?
There is no single fixed interval that fits all devices. Regulators such as EMA, FDA, and WHO expect companies to define calibration frequency based on risk and documented evidence.
A risk-based approach considers:
- Criticality: How much product quality depends on the measurement.
- History: Drift and out-of-tolerance (OOT) rates from past calibrations.
- Environment: Exposure to stress factors like vibration, repeated cooling/heating cycles, or moisture.
- Device stability: Some sensors are known to drift faster than others.
- Controls: If you have alarms, monitoring, or on-the-wall calibration, you may extend intervals.
Best practice: Start with 12 months. If drift remains low over multiple cycles, you can justify extending to 18–24 months. If you find repeated OOT, shorten the interval. Always document your rationale in SOPs and quality records.
Who handles calibration? And can you do it yourself?
Calibration is typically handled by specialized calibration technicians or engineers. Although some large-scale organizations have their own calibration laboratories, for most, the calibration procedure is purchased at an external calibration laboratory by sending in the data logger or having external technicians visit the site – or it can be part of the service associated with the monitoring system.
The responsibility of keeping track of calibration schedules and overseeing that the process comply with regulatory standards often fall to quality assurance specialists/engineers, validation engineers, or laboratory managers.
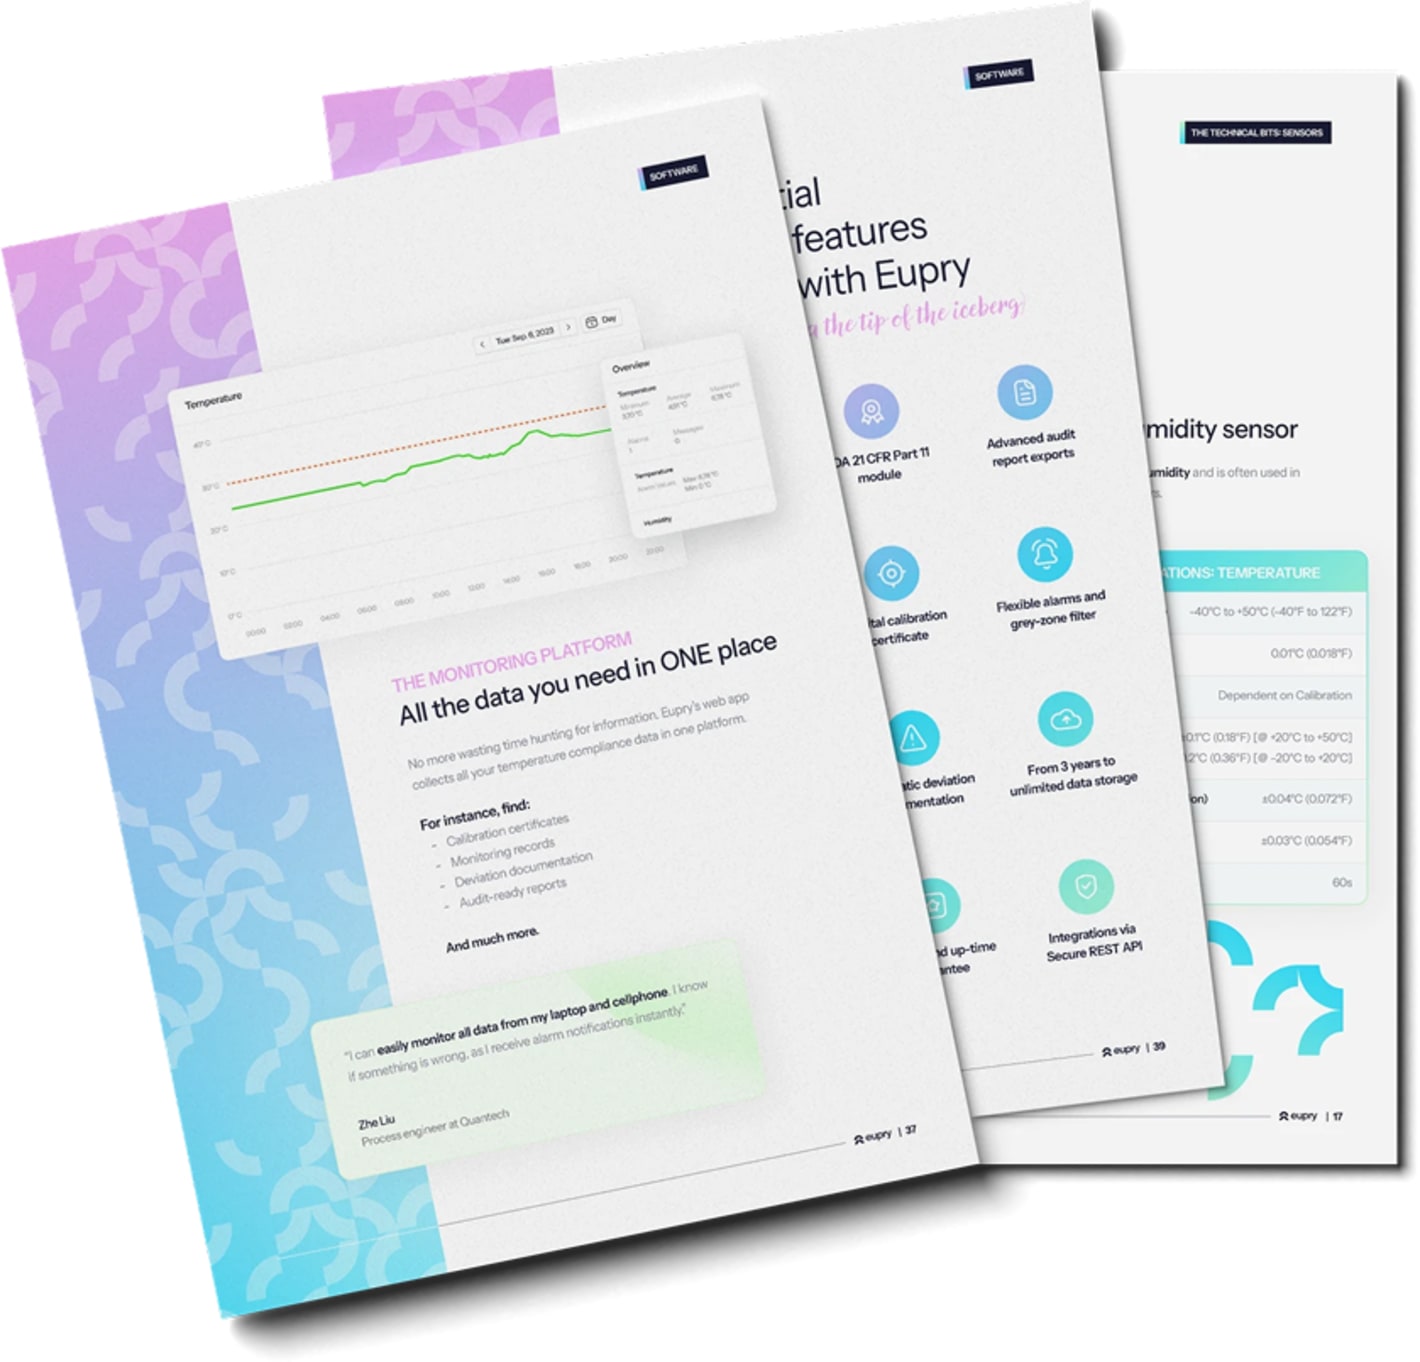
Make calibration a non-issue with Eupry
Psst... With Eupry’s temperature and humidity monitoring solution you won’t have to worry about keeping track of or carrying out calibration.
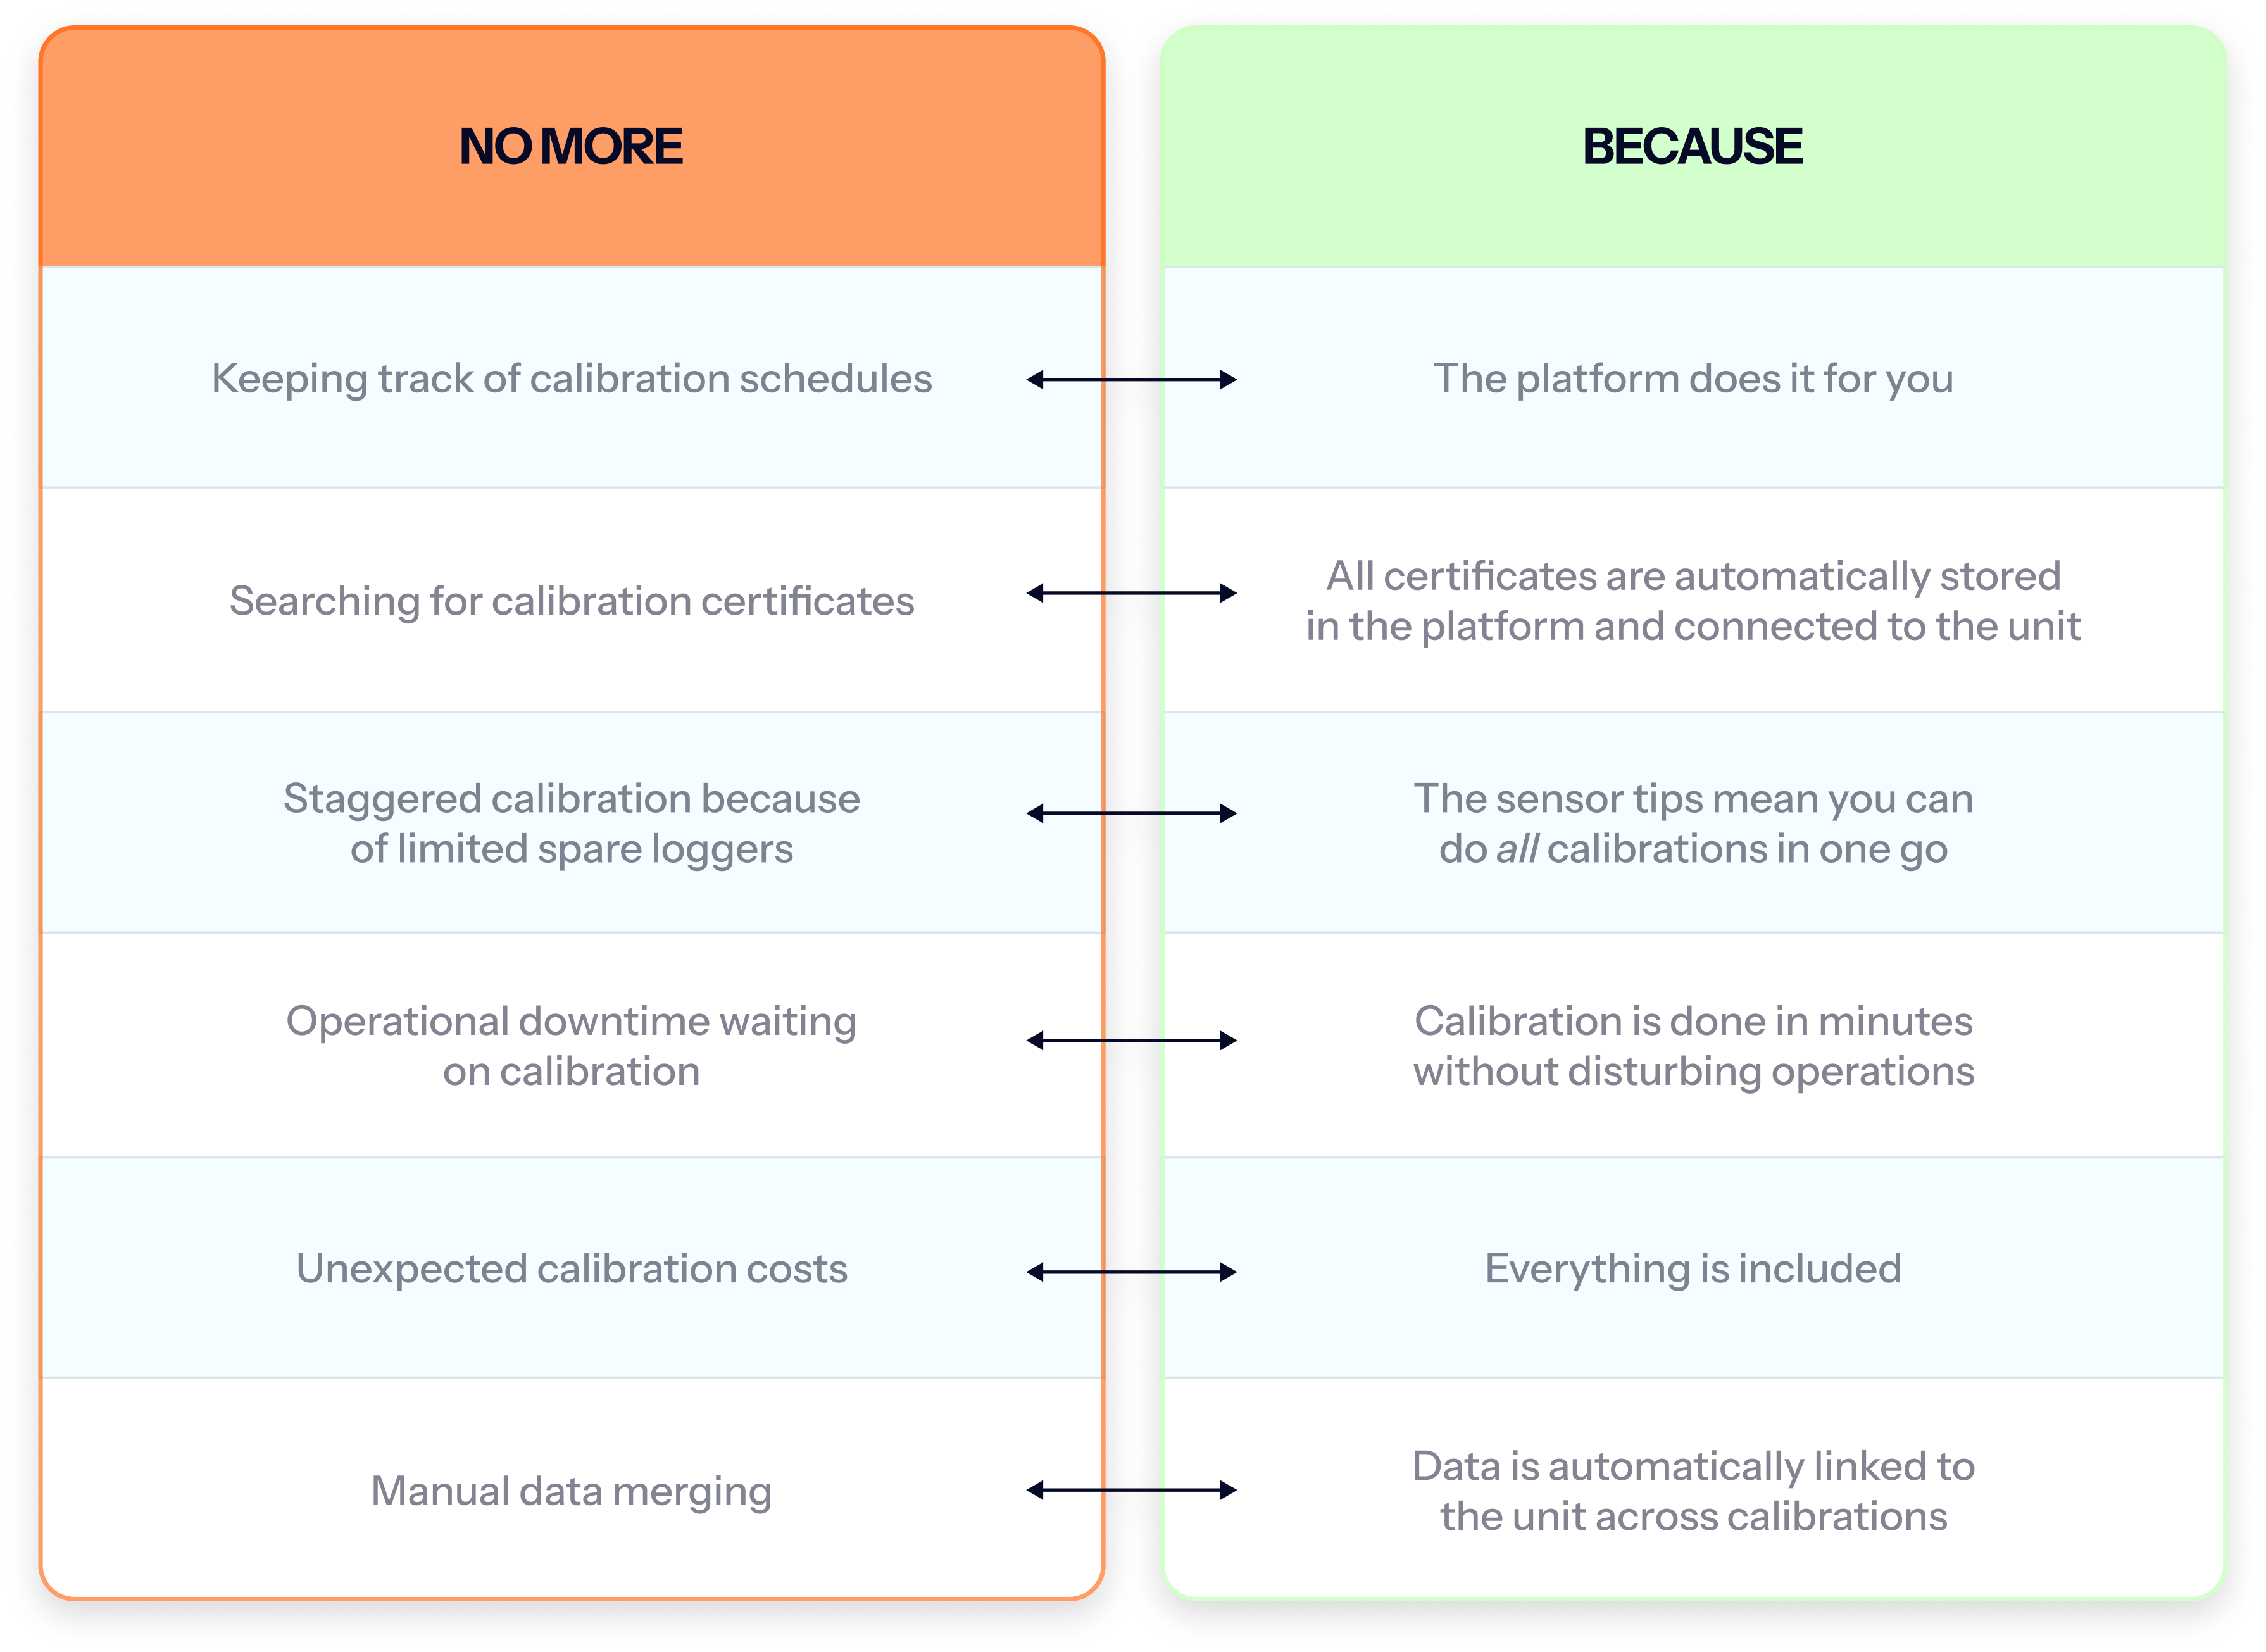
It includes automated – ISO17025-accredited or traceable – on-the-wall calibration and the most efficient (patented) process you will find:
- When due, we provide you with newly calibrated, external sensors.
- You switch them in only seconds.
Your data stream is automatically maintained without gaps, and certificates are stored digitally.
Handle all calibrations in seconds, directly at your location, and without changing data loggers.
Accredited vs. traceable calibration: What regulators expect
When it comes to calibration services, the terms "accredited" and "traceable" are helpful in understanding the level of assurance and compliance offered by different calibration processes.
Here is a breakdown of each term to clarify their differences:
Accredited calibration:
- Certification: Accredited calibration means that the service is performed by a laboratory that has been formally recognized by an accreditation body. This recognition is based on the laboratory's adherence to international standards, such as ISO 17025.
Psst.. Did you know that, at Eupry, we have our own ISO17025-accredited calibration lab?
- Audit and oversight: Accredited laboratories undergo regular audits to ensure they meet stringent standards for their technical competence and quality management systems.
- Higher assurance: This type of calibration provides a higher level of assurance in the accuracy and reliability of the equipment calibration, along with detailed reporting that aids in regulatory compliance.
Traceable calibration:
- Standard compliance: Traceable calibration refers to a calibration service that can directly relate its measurements back to recognized standards through an unbroken chain of comparisons. This is typically documented to demonstrate that the measurements are consistent with national or international standards.
- Documentation: Traceability requires detailed records that document each step of the calibration process and the corresponding results.
- Broad applicability: While it ensures accuracy and consistency, traceable calibration does not imply the rigorous oversight or formal quality system compliance that comes with accreditation.

Calibration certificate requirements: What auditors expect
A calibration certificate is the auditable proof that your device was calibrated correctly. Certificates should include at least:
- Unique certificate ID and device serial number
- Calibration date, location, and environmental conditions
- Reference standards used, including traceability to NIST or national metrology institutes
- Measurement points and results, with as-found and as-left data if adjustment was made
- Measurement uncertainty and coverage factor (k)
- Technician name/signature and accreditation details
- Accreditation mark (for ISO/IEC 17025 labs) or a traceability statement
Certificates missing these elements may be rejected during audits. Building a checklist into your SOP ensures every certificate is review-ready.

Is traceable and NIST calibration the same?
No, traceable and NIST calibration are not the same. Traceable calibration means that the calibration can be traced back to a recognized standard, which can be either national or international. This ensures that measurements are consistent with others that follow the same standards.
NIST calibration specifically refers to calibration that is traceable to standards maintained by the National Institute of Standards and Technology (NIST) in the United States. This type of calibration provides a direct assurance of accuracy and compliance with NIST standards, often required in specific regulatory environments within the U.S.
So, while all NIST calibrations are traceable, not all traceable calibrations meet the specific standards set by NIST.
Choosing the right calibration type for you
The choice between accredited and traceable calibration often depends on your regulatory requirements and the specific needs of your business.
- Accredited calibration is essential for industries such as pharmaceuticals and biotechnology, where compliance with standards is strictly monitored.
- Traceable calibration might suffice for internal standards and less regulated tasks where formal accreditation is not a necessity. Typically, you would opt for NIST calibration if your industry requires traceable calibration in adherence to U.S. standards.

Calibration challenges and how to solve them
Managing large-scale calibration
In large facilities with numerous data loggers, managing the calibration process can be complex and time-consuming. A streamlined approach, such as using calibration service providers (like Eupry), can reduce downtime and ensure consistent calibration across all devices.
Calibration intervals and drift
Defining appropriate calibration intervals based on the estimated drift of sensors is essential. Some sensors may require more frequent calibration due to higher drift rates. Using tables from standards to define maximum permissible errors helps in determining these intervals.
Interpreting calibration certificates
Understanding and reviewing calibration certificates can be challenging, and ensuring that all results meet the defined acceptance criteria before using the calibrated equipment is vital. This reduces the risk of using out-of-specification devices, which can lead to compliance issues.
What to do after a failed calibration (out-of-tolerance result)
An out-of-tolerance result means a potential product quality risk. Here is the key elements of a compliant response:
- Quarantine the device: Remove it from use immediately to avoid further risk.
- Trace product impact: Review all data since the last in-tolerance calibration. Assess whether product was at risk.
- Investigate: Open a deviation or CAPA. Document the potential root cause of drift.
- Correct: Adjust or replace the device, then recalibrate it to create a new baseline.
- Review intervals: If the device drifted more than expected, shorten calibration intervals.
- Document: Record all actions, approvals, and conclusions in the QMS.
Auditors often ask: “What did you do after the failed calibration?” Having this process documented is key.
Rid your work of calibration blockers
On-the-wall calibration without manual overviews (the system keeps track for you), physical certificate chaos (all is digital), and switching data loggers (simply switch the sensor) with the fastest calibration process on the market.
Frequently asked questions about temperature calibration
You can find many more questions about temperature compliance earlier on the page.
Client Testimonials
Easy and (extremely) quick calibration with a click
Audit-ready and wireless temperature monitoring built for GxP – with the smartest calibration process you will come across as part of the package.
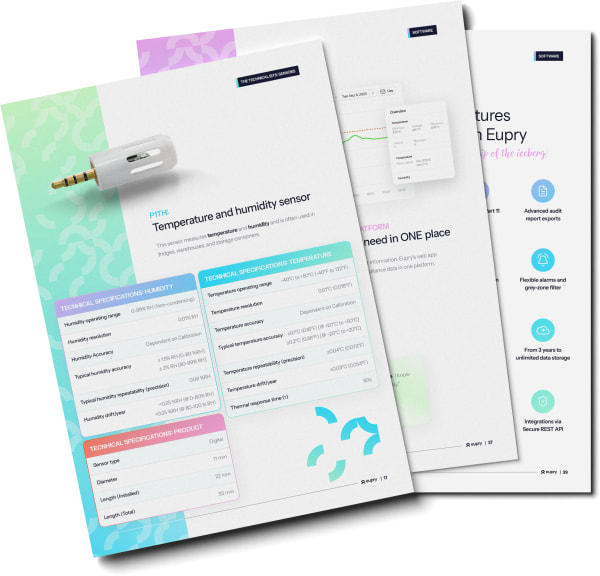
Sounds too good to be true? We promise it is not. Learn how it works in our catalog.

